Building a Pinball Model
Using a community workshop and learning to laser cut

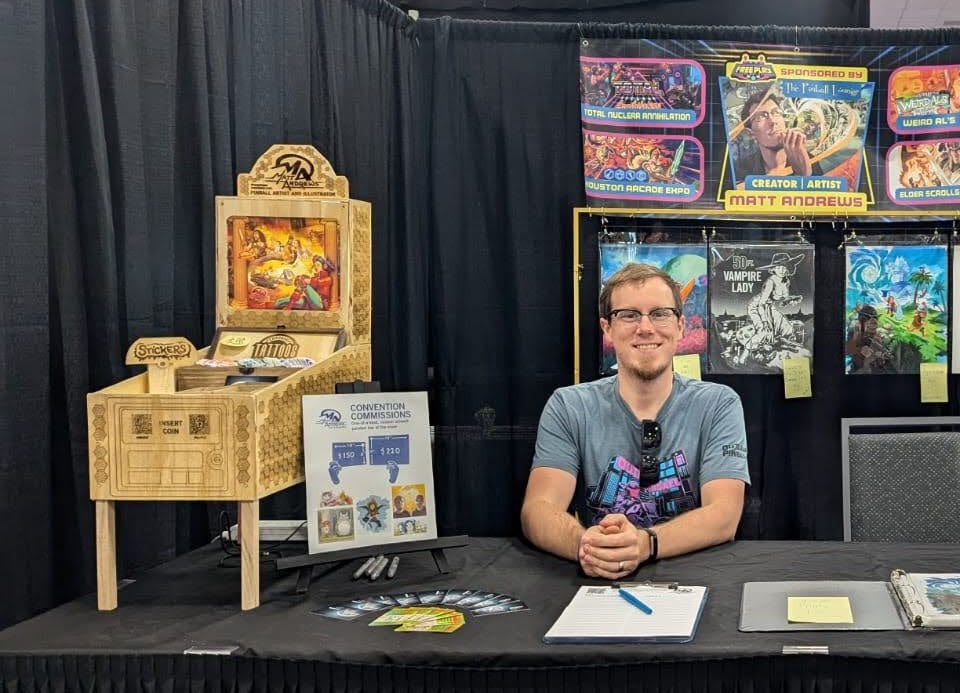
In October 2024, I decided that I would build a pinball machine display for my vendor setup starting with Free Play Florida. The plan was to do it all by laser cutting plywood that would perfectly snap together with finger joints, and it was going to be simple. Many problems were to be overcome before making this concept a reality.
It all started with a Sketchup file. I don’t use CAD, so this is how I first visualize things and make sure they work in 3D space. Once I had the scale and proportions how I liked, I took all the panels and recreated them as vector shapes in Adobe Illustrator.
Once ready to build, I joined Synergy Mill, Greenville’s community workshop. They have all kinds of tools for makers, but what made it worthwhile were the laser cutter, band saw, and table saw. Particularly the laser cutter, something I never foresee owning, is worth the price of admission. It’s a great space, and the days I went, I pretty much had the shop to myself.
A lot of setting up a laser cut is knowing vector software, which is perfect for my background. The other part that I don’t know so well is what settings to apply to the laser to make it cut or etch the way I’d like. There were many scrap pieces in the workshop to use for test cuts. I could at least get in the ball park before burning the plywood I bought. The Muse Titan laser cutter is controlled by industry-standard software, Lightburn. It was pretty user-friendly to get the hang of. I simply copied my Illustrator lines into Lightburn and did some test “cuts.” There were two discoveries right away: My designs were 75% the size they were supposed to be, and the lines took ages to burn all the way through the material, even thin lauan plywood. No way I was going to nail the cut settings on my first runs, but I did not have infinite time or material to waste and figure it out. Once I figured out I had to set the DPI to 72 to bring in Illustrator files, I had one thing that worked 100% perfectly. I abandoned the idea of finger joints, which would allow the pieces to snap together with no hardware. Instead, I rebuilt my model to be held together with screws.


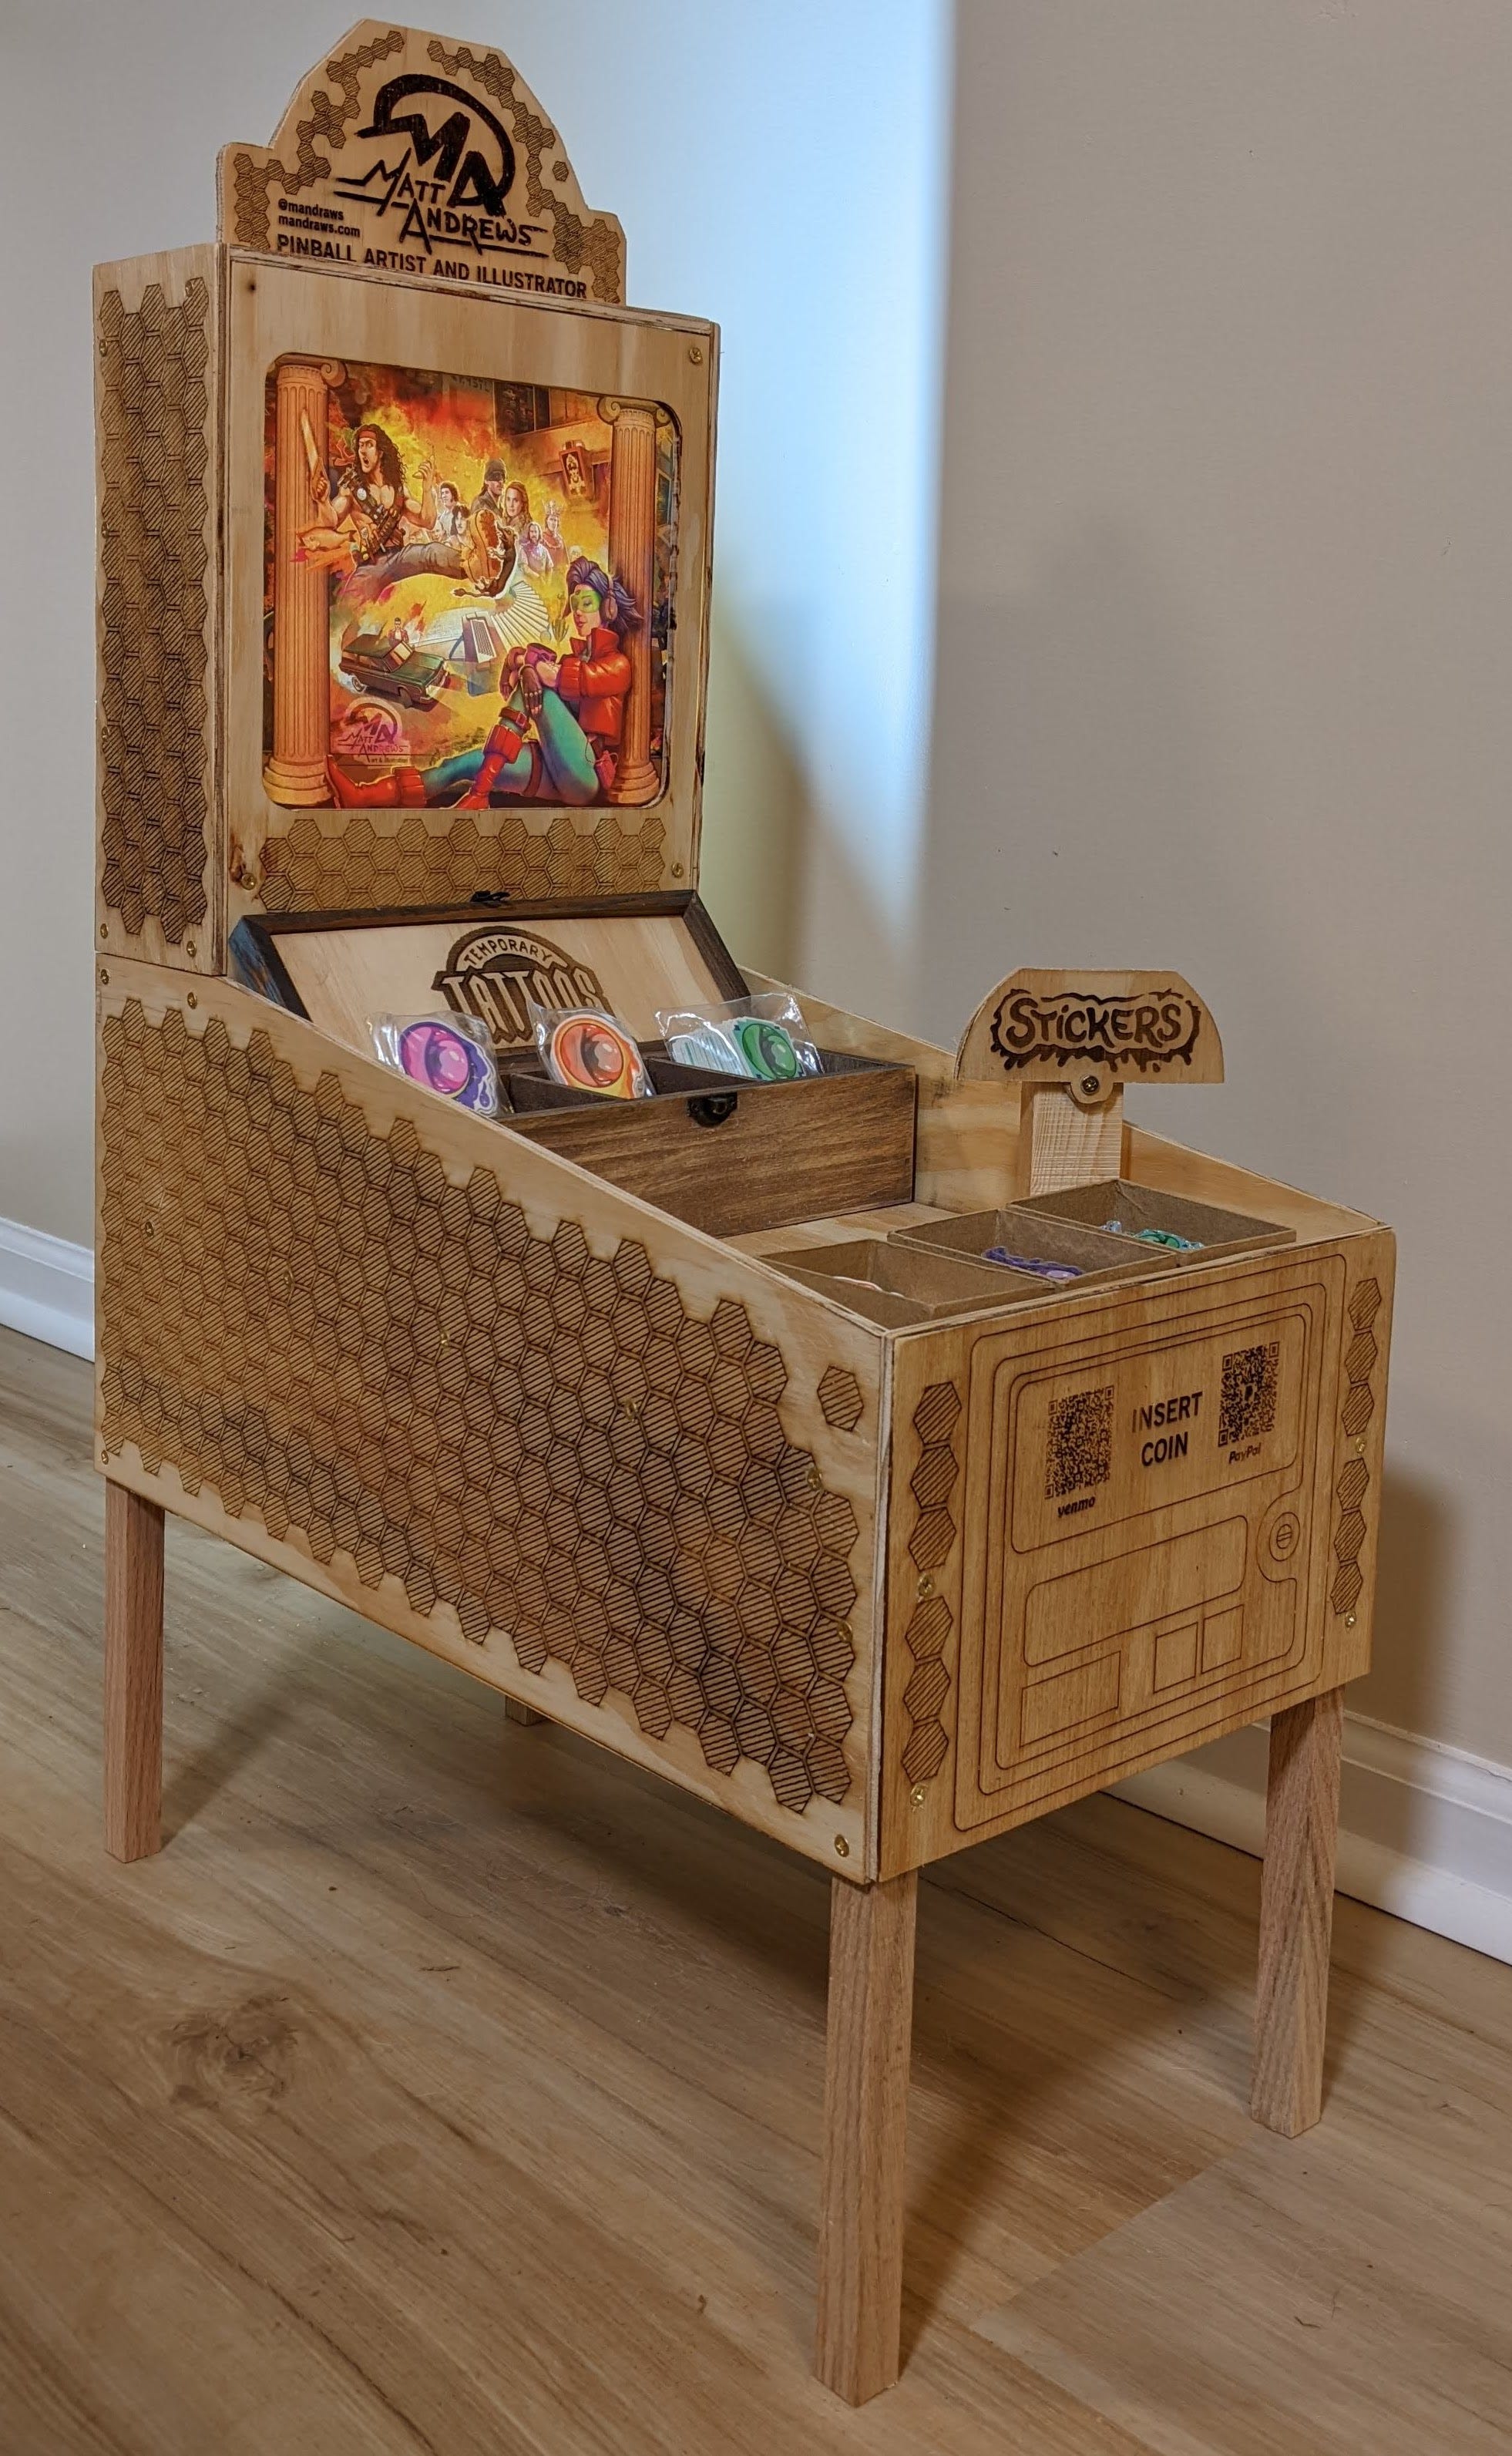
A “skeleton” of oak 1” x 1” boards are the legs and mounting points for the screws on the inside. All the outside is 1/4” plywood. When I was happy with how it all fit together, I decided there should be some for of decoration, so I made a hatched hexagon pattern motif to go all over. The front of the machine I would add payment methods as the “Insert Coin” buttons, and I built a topper too. Toppers are a status symbol in the pinball world that usually means one splurged for a the top-tier version of a particular machine. My name and logo are on the topper, and the translite (lit by a usb lamp) is a collage of pinball art I have made over the years.
In the end, I was happy with how it turned out. It would have been really nice if I could get the laser cutter to cut the plywood perfectly and it all snapped together. Still, I would have needed to come up with a way to do the legs. This journey played out how I approach just about everything in life. I want to do something, I try it, I fail, and I figure out how to do it better. I’m simply at peace with failure and build it into my process. In the end I learn so much more just by doing.